 (Image via
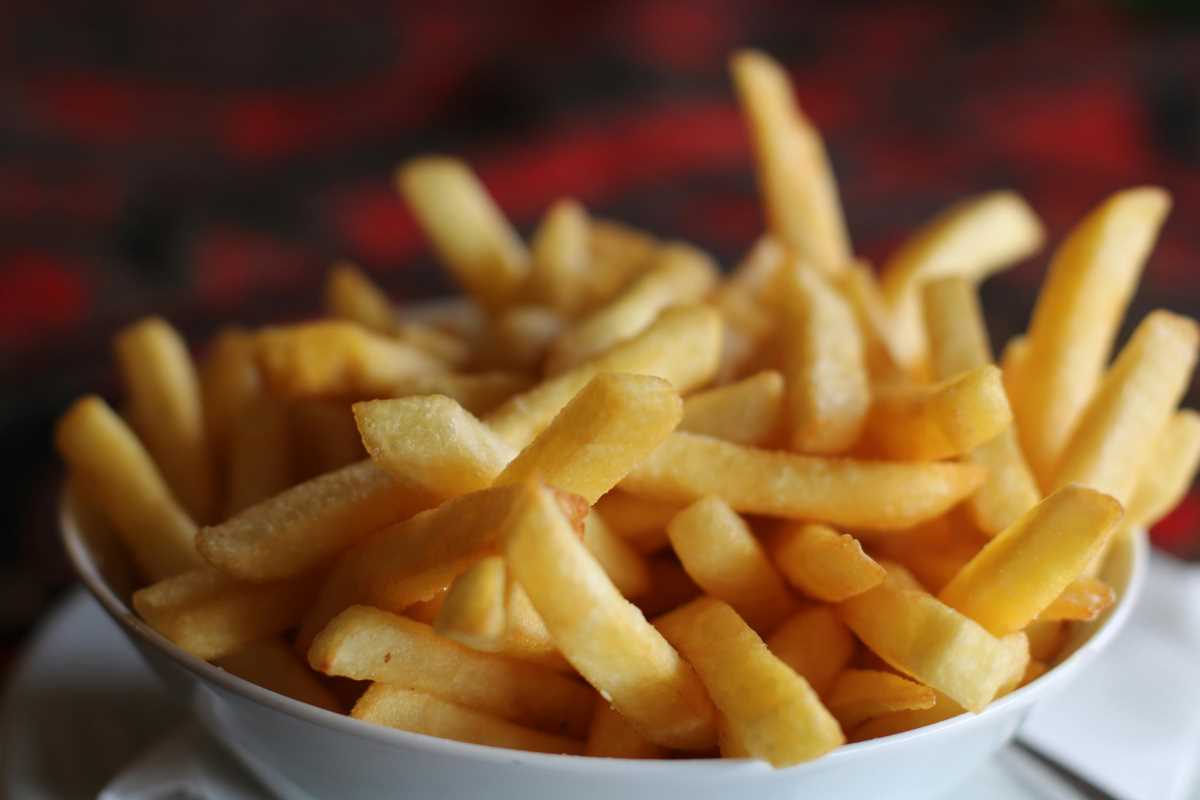
French fries. They're the seductive sidekick to almost every craving. Burgers? Better with fries. Chicken tenders? Basically naked without them. And don’t even get me started on fries smothered in cheese or dipped in mayo (seriously, try it). But achieving those golden, crispy, perfectly salted fries at home? That's the stuff of myth and legend… or is it?
Think about it. How many times have you tried to make fries from scratch, only to end up with limp, pale disappointment? It’s nothing personal; potatoes are sneaky little devils. But trust me, with a little know-how and a lot of love (and oil), you too can create fries worthy of a restaurant menu. No fryer necessary.
Here’s the not-so-secretly-secret formula for crispy fries that’ll make you the fry master of your own kitchen.
Step 1: Pick the Right Potato
Here’s the deal. Not all potatoes are created equal. You want potatoes high in starch and low in moisture. Translation? Russet potatoes are your golden ticket. They’re starchy, creamy on the inside, and when cooked right, crisp up like a dream.
Avoid waxy varieties like red potatoes or Yukon Golds. They might be great for roasting but aren’t interested in joining the crispy fry party.
Step 2: Peel, Cut, and Rinse
Peeling is optional. Skins can add a rustic charm (and a bit of fiber, if you’re into that). But if you’re chasing fries as clean-cut as a fast food joint’s, grab that peeler.
When cutting your fries, consistency is key. Uneven shapes cook unevenly. You want your fries long and lovely, around 1/4 inch thick. Or go for shoestring-style if you’re in a fast-and-furious kind of mood. Whatever you do, channel your inner perfectionist here.
Next, give those taters a bath. Rinse the fries until the water runs clear. This step is non-negotiable unless you enjoy soggy fries. Rinsing removes excess starch, which is the culprit behind flabby, sad spuds.
Now for a power move: soak them in cold water for at least 30 minutes. Overnight? Even better. This leeches out even more starch, setting the stage for maximum crispification. (Yes, that's a word I just invented.)
Step 3: Parboil Your Fries
Parboiling, or partially cooking your fries in water beforehand, is like preheating your engine before a road trip. It ensures soft, fluffy innards and crispy exteriors. Start by boiling salted water. Toss the drained fries in and cook for 5-7 minutes, or until they’re just starting to soften.
Drain them gently (because nobody likes mushy, broken fries) and lay them in a single layer on a clean kitchen towel. Pat them dry with the enthusiasm of a kid wiping off rain-soaked glasses. Water is an enemy here. The drier your fries, the crispier they’ll be later.
Step 4: The Double-Fry Technique
Now comes the magic. The reason restaurant fries have that golden, shatteringly crisp crust is because they’re fried. Twice. Trust me, it’s worth the trouble.
First Fry (Low Heat, Patience Required)
Heat your oil to 300°F. Vegetable oil or peanut oil works wonders because of their high smoke points. If you’re feeling cheeky (or thrifty), save bacon fat for flavor-packed fries—but don’t tell your cardiologist.
Work in small batches to avoid overcrowding the pan (unless your vision of crispy fries involves a soggy group fry sauna). Fry the potatoes for 4-5 minutes until they’re slightly soft and pale. Drain on paper towels or a cooling rack.
Remember, the goal isn’t crispiness yet; we’re just laying the groundwork.
Second Fry (High Heat, All Systems Go)
Once all batches have had their first dip, crank the oil to 375°F. Now it’s business time. Drop the fries back in for their second bath, working batch by batch. This fry lasts 2-3 minutes and delivers that glorious crunch factor. They should be golden brown and utterly irresistible.
Drain them on fresh paper towels or a rack, and while they’re still glistening with oil (a.k.a. the perfect moment), hit them with your seasonings. Salt, obviously, but more on that in a second.
Step 5: Season Like a Pro
Salt is good. Salt is great. Fry salt is god-tier. Use fine kosher salt or flaky sea salt for an even, pro-level distribution. Lay it on while the fries are still hot so it sticks.
Feeling adventurous? Toss your fries with garlic powder, paprika, or even a sprinkle of grated Parmesan. Craving something sweet? Try a shake of cinnamon sugar. Been bingeing travel food shows? Go exotic with za'atar or a drizzle of spicy mayo. Fry seasoning is a choose-your-own-adventure game, so don’t hold back.
Step 6: Serve (Immediately, of Course)
Fries are not a “meal prep” food. They’re an eat immediately while standing in the kitchen food. Serve them solo, or pair with a dipping sauce lineup worthy of a fancy food truck. Options include (but are not limited to): ketchup, aioli, ranch dressing, hot honey, or even marinara for the rebels among us. The world is your dipping oyster.
A Few Words About Air Fryers
If deep frying intimidates you (or your smoke alarm), good news! Air fryers can absolutely deliver crispy fries without sounding like a deathtrap on your stove. Follow the same prep steps (soak, dry, etc.), then toss your fries with a touch of oil. Load the air fryer basket in a single layer, set it to 375°F, and cook for 10-15 minutes, shaking the basket halfway through.
You won’t get exactly the same restaurant-style crust, but you will get impressively crisp fries with a fraction of the mess. Limited counter space? Use your oven. Bake your fries at 450°F on a lined baking sheet (spaced out for crispy edges) and turn them halfway through.
Congratulations, you are now a certified fry whisperer. (No cape required, but optional.) Whether you're an air fryer aficionado, a double-fry dynamo, or just a potato purist with a craving, these steps will end the reign of sad, soggy fries forever.