 (Image via
Picture this. You’ve got friends coming over, maybe even in-laws (yikes), and you want to look effortlessly impressive. The kind of impressive that whispers, “Look at me, I know things about cheese and adulting.” Enter the charcuterie board. It’s the MVP of low-effort, high-impact hosting, and guess what? You don’t need to burn cash like you’re funding a Michelin-starred kitchen. With some clever tricks and a budget-friendly plan, you can craft a drool-worthy charcuterie board for less than $20. Yes, twenty bucks. You can thank me later (or now, I’m not picky).
Step 1: Know Your Board Basics
Before you run off to raid your local grocery store, you need to know what truly makes a charcuterie board tick. It’s all about balance. Think sweet and savory, crunchy and creamy, colorful and…well, not beige. No one’s sticking around for a sad plate of crackers and cheese cubes.
Here’s your shopping list blueprint:
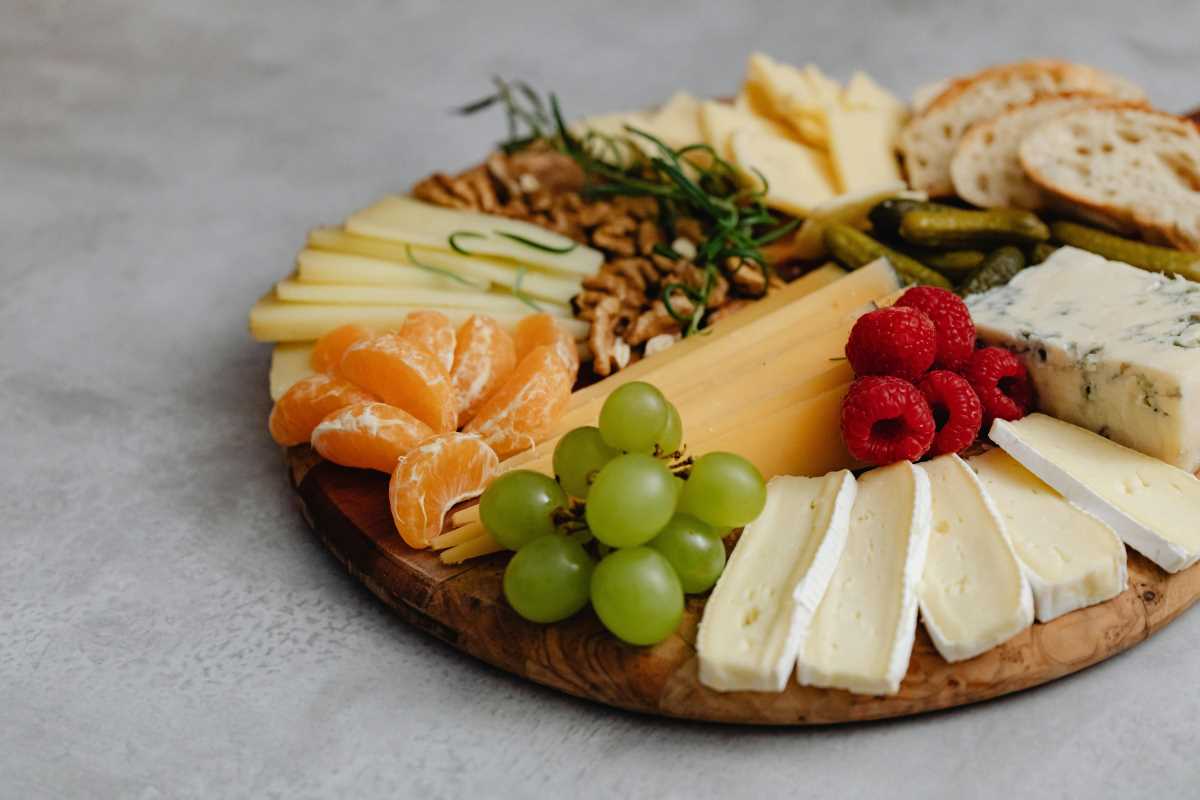
- Cheese (the star of the show): A creamy option like Brie or a sharp cheddar.
- Meat (because charcuterie does mean “cooked meats,” after all): Salami or prosciutto work beautifully.
- Crackers or Bread (the vehicle): Pick up some budget-friendly crackers or a baguette.
- Fruit (for sweetness): Grapes, apple slices, or dried fruits like apricots.
- Something Crunchy (for texture): Nuts like almonds or walnuts.
- Something Briny (to wake up the taste buds): Pickles or olives.
This mix keeps your board interesting and makes you look sophisticated, even if you’re wearing socks with holes while you’re assembling it.
Step 2: Budget-Friendly Ingredient Shopping
Time to tackle the aisles without having a financial breakdown.
Cheese on a Dime
No, you don’t need some artisanal, aged-for-15-years cheese imported from some cozy French village. Hit the deli section or even the dairy aisle and grab a block of sharp cheddar or a small wheel of Brie. A wedge of Parmesan does double duty too and lasts forever (ish). Look out for store-brand options or sales; they’re your best friend.
Cost: Around $4-5 for two small-ish selections.
Meats That Won’t Bleed Your Wallet
Prosciutto and salami can be pricey, but small deli packets usually land in the $3-4 range. Split it with a friend if you need just enough to fill the board without going overboard.
Cost: $4 (and some restraint while nibbling as you prep).
Crackers and Carbs, Your Loyal Crew
Forget those fancy-schmancy crackers with a name you can’t pronounce. The simplest box of water crackers or a fresh baguette from the bakery aisle will do the trick. Slice the bread thinly for that “I know what I’m doing” touch.
Cost: A mere $2-3.
The Sweet Factor
Fresh grapes are inexpensive, but dried fruit like apricots or raisins is even cheaper and lasts longer. Aim for what’s on sale that week. Apples are a fantastic choice too, because cheap and cheerful.
Cost: Under $3.
The Crunch & Brine Game
A handful of budget almonds or walnuts? Perfect. And pick up a small jar of olives or pickles from the lower shelves (cuz who’s even looking at the fancy top-row jars?).
Cost: $2-4 combined.
Boom. Under $20 and you’ve got all the makings for greatness.
Step 3: Presentation, Baby!
Here’s where the magic happens. Nobody’s going to ask how much you actually spent because your board will look like it stepped out of a Pinterest fever dream.
1. Start Big and Work Outward
Place your cheeses first. They’re the anchors of your board, and they get prime real estate. If it’s a wheel of Brie, leave it whole for dramatic effect. Chunky cheddar? Slice it into triangles or cubes (extra points if they look like they were cut by someone who passed geometry class).
2. Layer like a Pro
Next, fold your meats. No, seriously. Fold them. Salami slices can be curled into little rosettes or simply folded into halves or quarters for texture and dimension. Lay them near the cheese for easy pairing (like training wheels for charcuterie newbies).
3. Fill in the Gaps with Color
Scatter your sweets and crunchies. Grapes? Toss them near the edges so they spill over artfully. Apple slices? Fan them out like you’re auditioning for a food stylist gig. Olives and nuts go in tiny piles to keep the board neat, but organic. This is “organized chaos,” not a jigsaw puzzle.
4. Crackers Go Last
Layer crackers and bread slices around the edges. Stack them at slight angles or place them in loose rows so it looks intentional yet relaxed.
5. Finishing Touches
Got a drizzle of honey or a cheap-ass jar of jam lying around? Slap it in a tiny bowl with a spoon for a pop of sophistication. Sprinkle a few random nuts on top for the chef’s kiss touch.
Tricks to Make It Look Luxurious
You don’t have to drop extra cash to have your board scream, “Money.” Sometimes, it’s the smallest things that make the biggest impact:
- Use what you have: A wooden cutting board or a decorative plate instantly upgrades the look.
- Get vertical: Stack crackers or fan out slices of meat for height and drama.
- Garnish: Fresh herbs like rosemary or even greens from carrots (yes, carrot tops!) add a rustic vibe. Totally free if you’re already buying those carrots anyway.
- Contrast: Mix soft cheeses with crunchy nuts, bold salami next to mellow Brie. Keep the variety for the ooohs and ahhhs.
Step 4: Snap, Serve, and Sip
Now that your $20 masterpiece is assembled, it’s showtime. Position it under some decent lighting (NOT your dim kitchen corner unless you want everything to look beige) and snap a quick photo. Post it to social media for those obligatory compliments. Then step back, throw on some music, and serve it with whatever cheap wine you’ve got chilling in your fridge. No one’s judging the $8 bottle from Trader Joe’s, I promise.
And there you have it. An Instagram-worthy charcuterie board for less than $20 that’ll have your guests raving and your wallet thanking you. Who needs high-end catering when you’ve got budget-friendly brilliance?